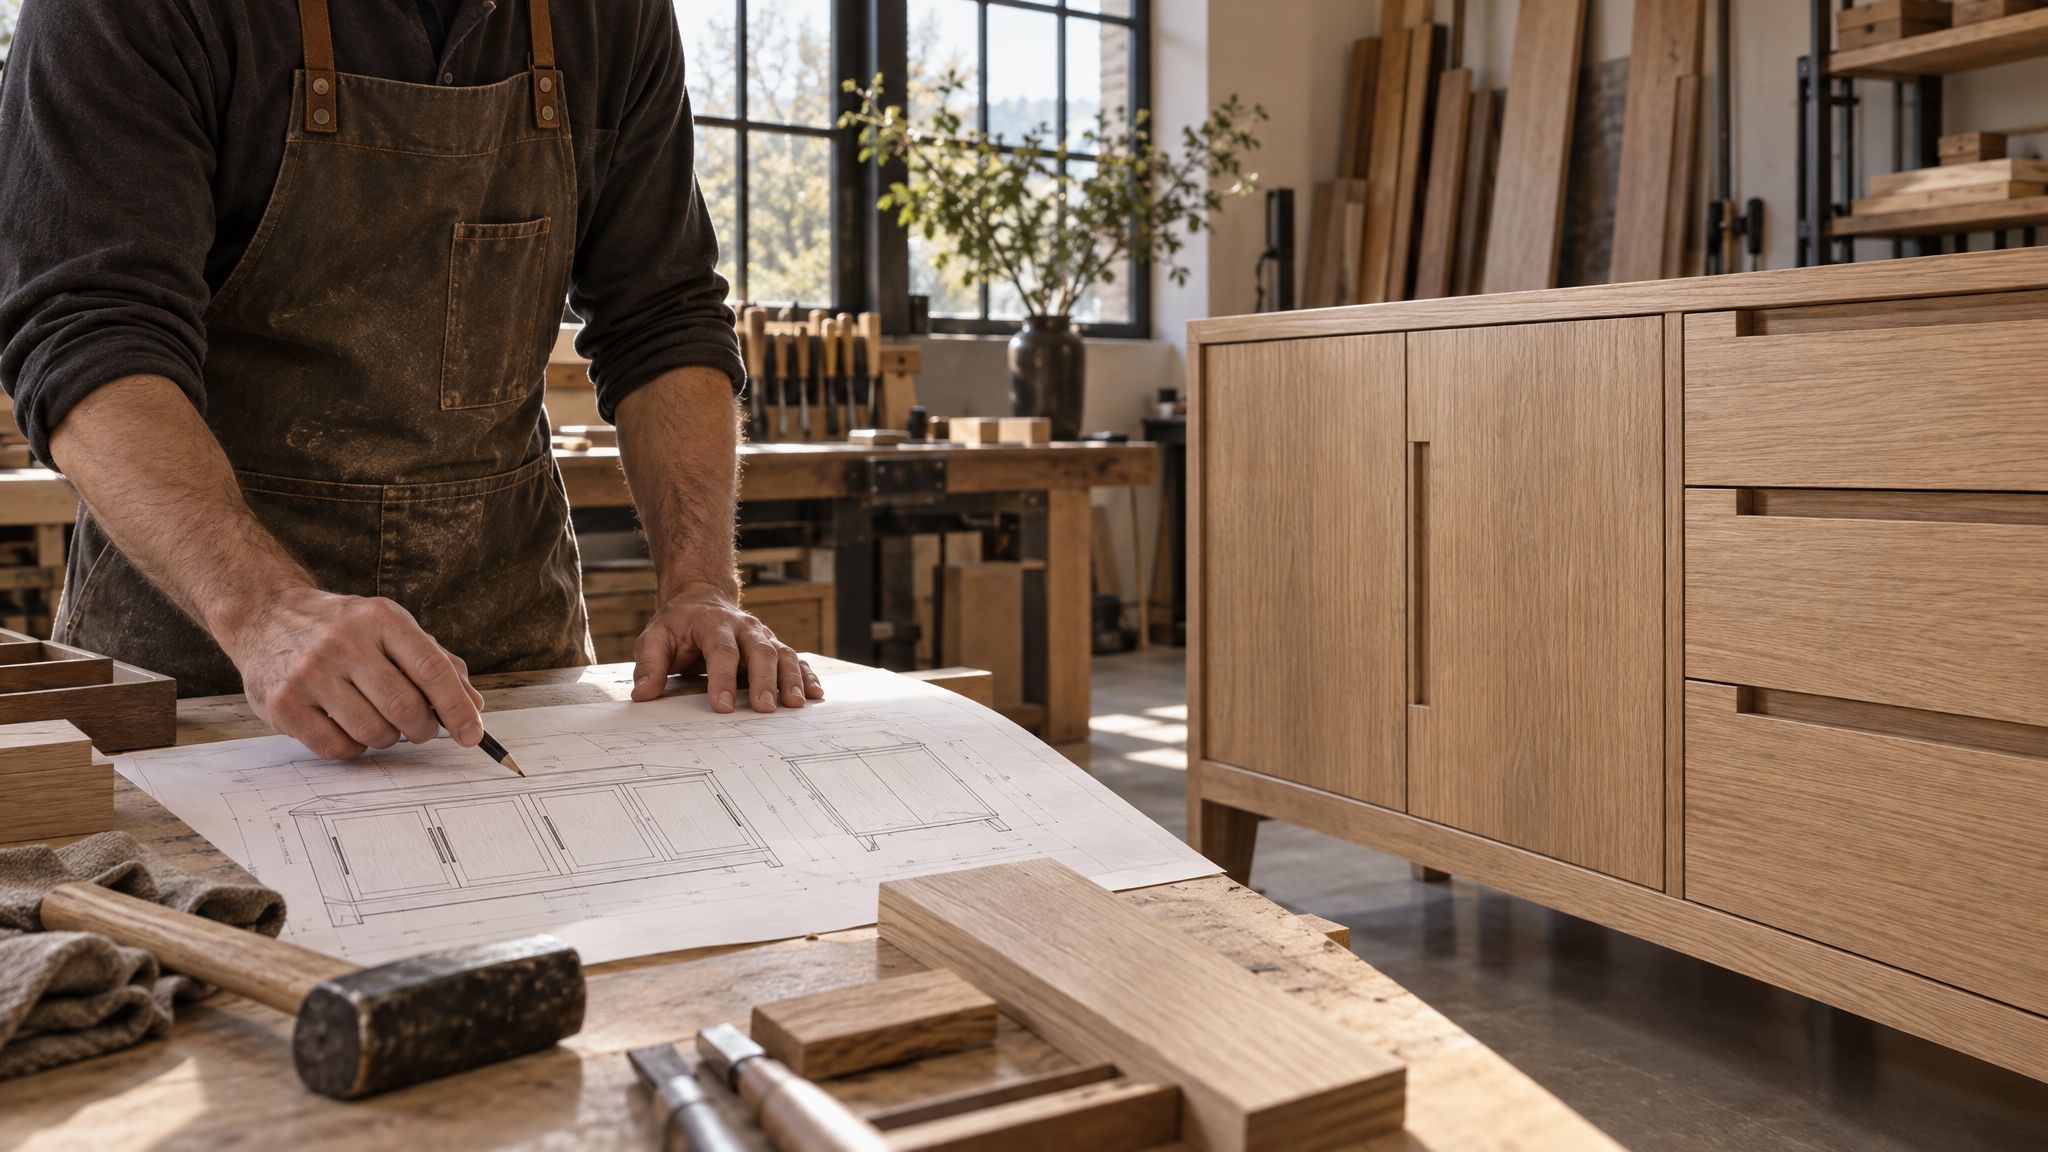
Most people only ever see a custom cabinet at two moments: the day they sign off on a drawing, and the day it's installed. Everything in between — the part that actually determines whether it's still perfect in twenty years — happens in a shop they never visit. So here's a walk through that middle part: exactly how a custom cabinet goes from an idea on a napkin to a piece of furniture bolted to your wall, the way we do it in our Little Falls shop.
1. The field measure
Every custom project starts with the room, not the cabinet. Before we draw anything, we measure the space ourselves — not from the architect's plans, and not from a tape measure the homeowner ran over a weekend. Walls in real buildings are rarely plumb, floors are rarely level, and in pre-war New York apartments a wall can wander three-quarters of an inch over eight feet. We record every one of those deviations, along with outlet and plumbing locations, window casing depths, ceiling height at multiple points, and anything that will fight the cabinetry.
This step is the single biggest difference between cabinetry that looks built-in and cabinetry that looks installed. We wrote a whole piece on why the field measure makes or breaks custom millwork, because it's where most problems are either prevented or created.
2. Design and shop drawings
Once we understand the room, we move to design. For kitchens and larger rooms we build a full 3D model so you can see proportions, reveals, and sightlines before a board is cut. When the design is approved, it becomes a set of shop drawings: dimensioned elevations, plans, and sections that show every box, every door, every filler, and every piece of trim, along with materials, finishes, and hardware.
Shop drawings are a contract as much as a drawing. They are what you approve and what we build to — which is why we walk every client through them line by line. If you've never read a set before, our guide on how to read millwork shop drawings explains what to look for.
3. Material selection
With drawings approved, we order materials. For case construction we typically use high-grade plywood or veneered panels rather than particleboard, because they hold screws, resist moisture, and stay flat. For the visible surfaces — doors, drawer fronts, end panels — the choice depends on the look: solid hardwood, sequenced veneer, or a paint-grade substrate engineered not to crack at the joints.
If the design calls for a figured species, we often select the actual flitch of veneer so the grain flows continuously across a run of doors. That's a decision you can't make from a catalog. Our comparison of wood veneer versus solid wood goes deeper into when each makes sense.
4. Cutting: where machines and hands split the work
People sometimes assume "custom" means everything is hand-cut. In a modern shop, it doesn't — and you wouldn't want it to. We use CNC machinery to cut case parts, drill hinge and shelf-pin holes, and machine joinery with tolerances of a few thousandths of an inch. That precision is what lets a run of twelve doors line up with perfectly even reveals.
What machines don't do is judgment. Selecting which board goes where, matching grain across a door and the drawer above it, fitting a scribe to a crooked wall, easing an edge by hand so it feels right — that's still craft. We explain how the two work together in CNC vs. handmade cabinetry.
5. Joinery and assembly
Cases are assembled square and glued, with joinery chosen for where the load goes. Drawer boxes are typically dovetailed — the interlocking joint that resists the constant pull of being opened thousands of times a year. Face frames, when a design calls for them, are joined with mortise-and-tenon or pocket joinery and then flushed perfectly to the case. Our piece on cabinet construction breaks down frameless versus face-frame and why joinery matters.
Every assembled cabinet is checked for square, because a box that's out by an eighth of an inch will make its door hang crooked no matter how carefully it's adjusted later.
6. Sanding and finishing
Finishing is where a cabinet goes from a well-made object to a beautiful one, and it's the step most often rushed elsewhere. Surfaces are sanded through progressively finer grits, then finished in a controlled spray environment. Depending on the design, that might be a catalyzed lacquer, a conversion varnish, a hardwax oil like Rubio Monocoat, or a multi-coat painted finish with sanding between each layer.
Stain matching happens here too, and it's more art than science — the same stain looks completely different on white oak than on maple, and different again depending on how the wood was sanded. We cover the process in detail in how custom cabinets get their finish, and you can compare finish types in our cabinet finishes guide.
7. Dry fit and quality control
Before anything leaves the shop, we assemble what we can and check it against the drawings: door gaps, drawer operation, hardware alignment, finish quality under raking light. Anything that isn't right is fixed here, where we have every tool and every material on hand — not on site, where fixing a problem means a return trip.
8. Delivery and installation
Installation is the final act of making a cabinet look like it grew out of the room. Cabinets are leveled and shimmed, fastened securely to framing, and scribed to walls and ceilings so there are no visible gaps. Doors and drawers are adjusted until every reveal is consistent. Trim, crown, toe kicks, and filler panels are fitted and finished in place. Our article on what happens during a millwork installation walks through a typical install day.
How long the whole process takes
For a typical custom kitchen, expect roughly two to four weeks for design and drawings, six to ten weeks of fabrication, and one to two weeks of installation — longer for highly figured veneers, specialty finishes, or complex architectural rooms. We break this down in how long custom millwork takes.
Why the process matters to you
You don't need to know how to cut a dovetail to buy great cabinetry. But understanding the process helps you ask better questions of any shop you're considering — and it explains why real custom work costs what it does. Every step above is a place where a shortcut saves money today and costs you later. Our custom kitchen and architectural millwork work is built on not taking those shortcuts.
If you'd like to see the process in person, we're always glad to host clients and designers at our Little Falls shop. Call us at (201) 281-1457 or request a consultation online.